In recent time, resin bound patios have become more popular since they offer an attractive, low-maintenance alternative to traditional paving. While there are many professional installations available increasing numbers of homeowners are choosing to build resin bound patios as DIY projects. This is not just a way to save money but also offers an extra personal design to be added to the outdoor area.
Creating your own resin bound patio can appear to be a daunting job, but with the right tools materials, and a bit of direction, it can turn out to be a rewarding and enjoyable project. Here are some suggestions and strategies to help you design the most stunning resin-bound patio on your own.
To begin with first, you must know exactly what a patio constructed of resin is. The resin bound patio is comprised from a mixture of natural aggregates like marble, granite or stone, as well as an uncolored binder. The resulting material is troweled onto a prepared surface, creating a smooth, impermeable and non-slip surface.
One of the advantages of a resin-bound patio is it can be put over many surfaces, including tarmac, concrete, or even block paving that is already in place. It is vital that the surface is clean, clear of debris, and in good condition.
It is crucial to establish the drainage needs in the area prior to commencing any work on the surface. It is essential to ensure that the surface has sloped so that rainwater can run off the surface and then drain away. This is essential for areas that experience heavy rain. It may be necessary to install drainage channels or soakaways for drainage.
It’s now time to prepare your patio surface. Cleaning the surface thoroughly and eliminating any loose debris, moss or weeds. Repair any damage or cracks on the surface, as they could impact the final look.
Then, you can lay the sub-base layer. This layer is typically composed of crushed stone or pea gravel. This layer should be compacted to ensure it is level and stable. It is important that the sub base is 100mm in thickness as it acts as a base for the resin-bound mixture.
It is now time to mix resin bound mixture once the sub-base is laid. The natural aggregates are mixed into the resin binder by mixing it with mixer. It is crucial to follow the directions of the manufacturer closely to make sure that the mix is mixed in the correct consistency.
Once the mix is ready then it can be poured on the surface with an approximate thickness of 15-18mm. The mixture should begin to set in 30-40 minutes, therefore it is important to act quickly. A steel trowel should be employed to ensure that the surface is smooth and level.
It is important that you let the mixture cure over a period of between 24 and 48 hours following the time it is applied. This ensures that it is fully set and solid.
In the end, the resin-bound patio must be cleaned and maintained regularly to ensure that it retains its beauty and function. This includes regular sweeping to eliminate any debris along with occasional power washing to remove any marks or stains that are stubborn.
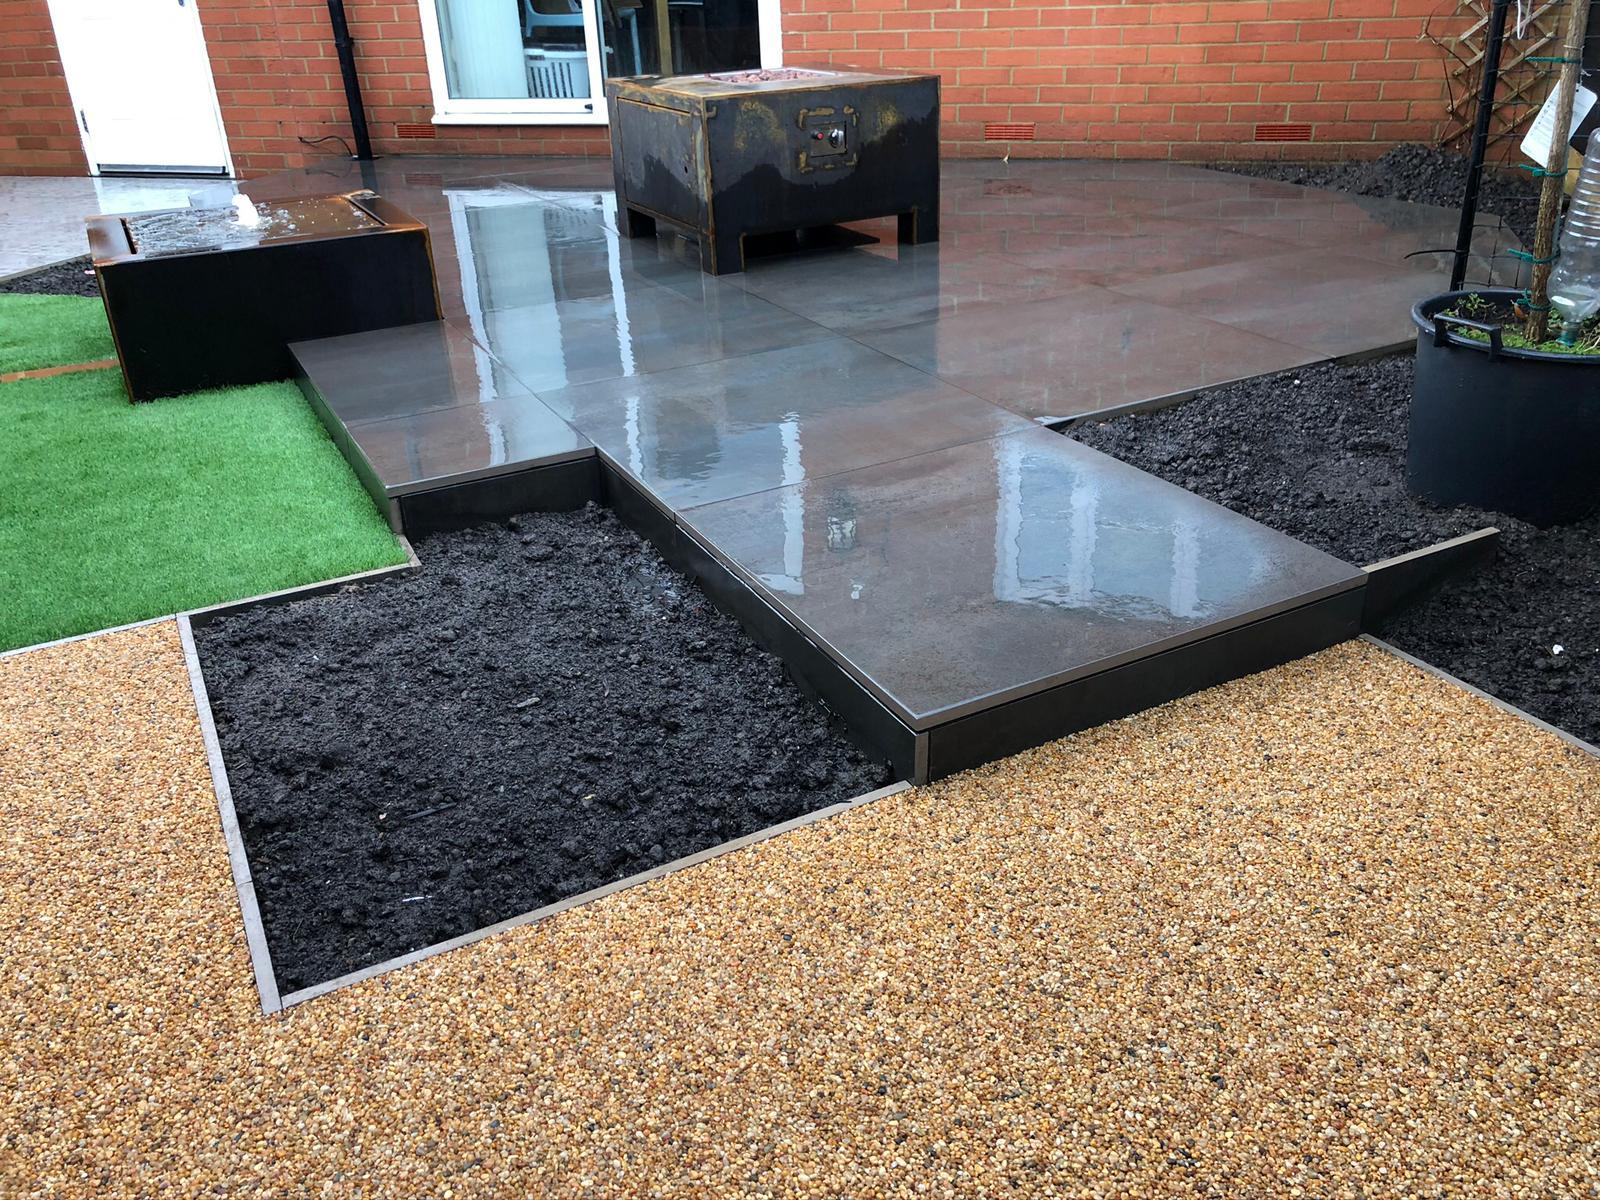
The resin-bound gravel kit is the most efficient way to change the look of your outdoor area. These kits provide a simple and quick solution for giving your patio, driveway or garden a new appearance. The kits are not just attractive, but they are also durable and low maintenance. This is the perfect option for homeowners with hectic schedules. Resin bound gravel can be customized to fit any style. It comes in many colors and finishes. It’s also easy to install making it an affordable method to improve the exterior of your house. With resin-bound gravel it is possible to say goodbye to dull outdoor areas and welcome beautiful, practical spaces.
A resin bound patio DIY project can be an excellent way to add value and visual appeal to your outdoor area. The surface has to be prepared and the drainage needs assessed. A beautiful resin bound patio is attainable with the correct equipment, materials and time.
For more information, click Resin Bound Patio Diy